Integrate OpenVPN on macOS
Using emnify, you can create a virtual private network (VPN) for your mobile IoT/M2M devices fitted with emnify SIMs. Data traffic is exchanged between the devices and the application server through an OpenVPN tunnel, enabling direct communication with the IPs of the mobile devices—no network address translation (NAT) applied.
The tunnel is established between the emnify Core Network and the customer’s VPN gateway or server.
The Secure your devices with OpenVPN video provides a step-by-step walk-through.
Required preparation in the emnify Portal
Any traffic exchanged with mobile devices is encrypted before being transmitted over the public internet, which adds an additional layer of security and privacy. No VPN software needs to be installed on the device, or there aren’t any required configuration changes necessary. The default emnify APN also supports VPN flows.
Download the VPN configuration file
You can’t use accounts with app authentication enabled to authenticate the OpenVPN tunnel. Email authentication doesn’t affect OpenVPN.
For more information, see the MFA FAQ in the emnify Knowledge Base.
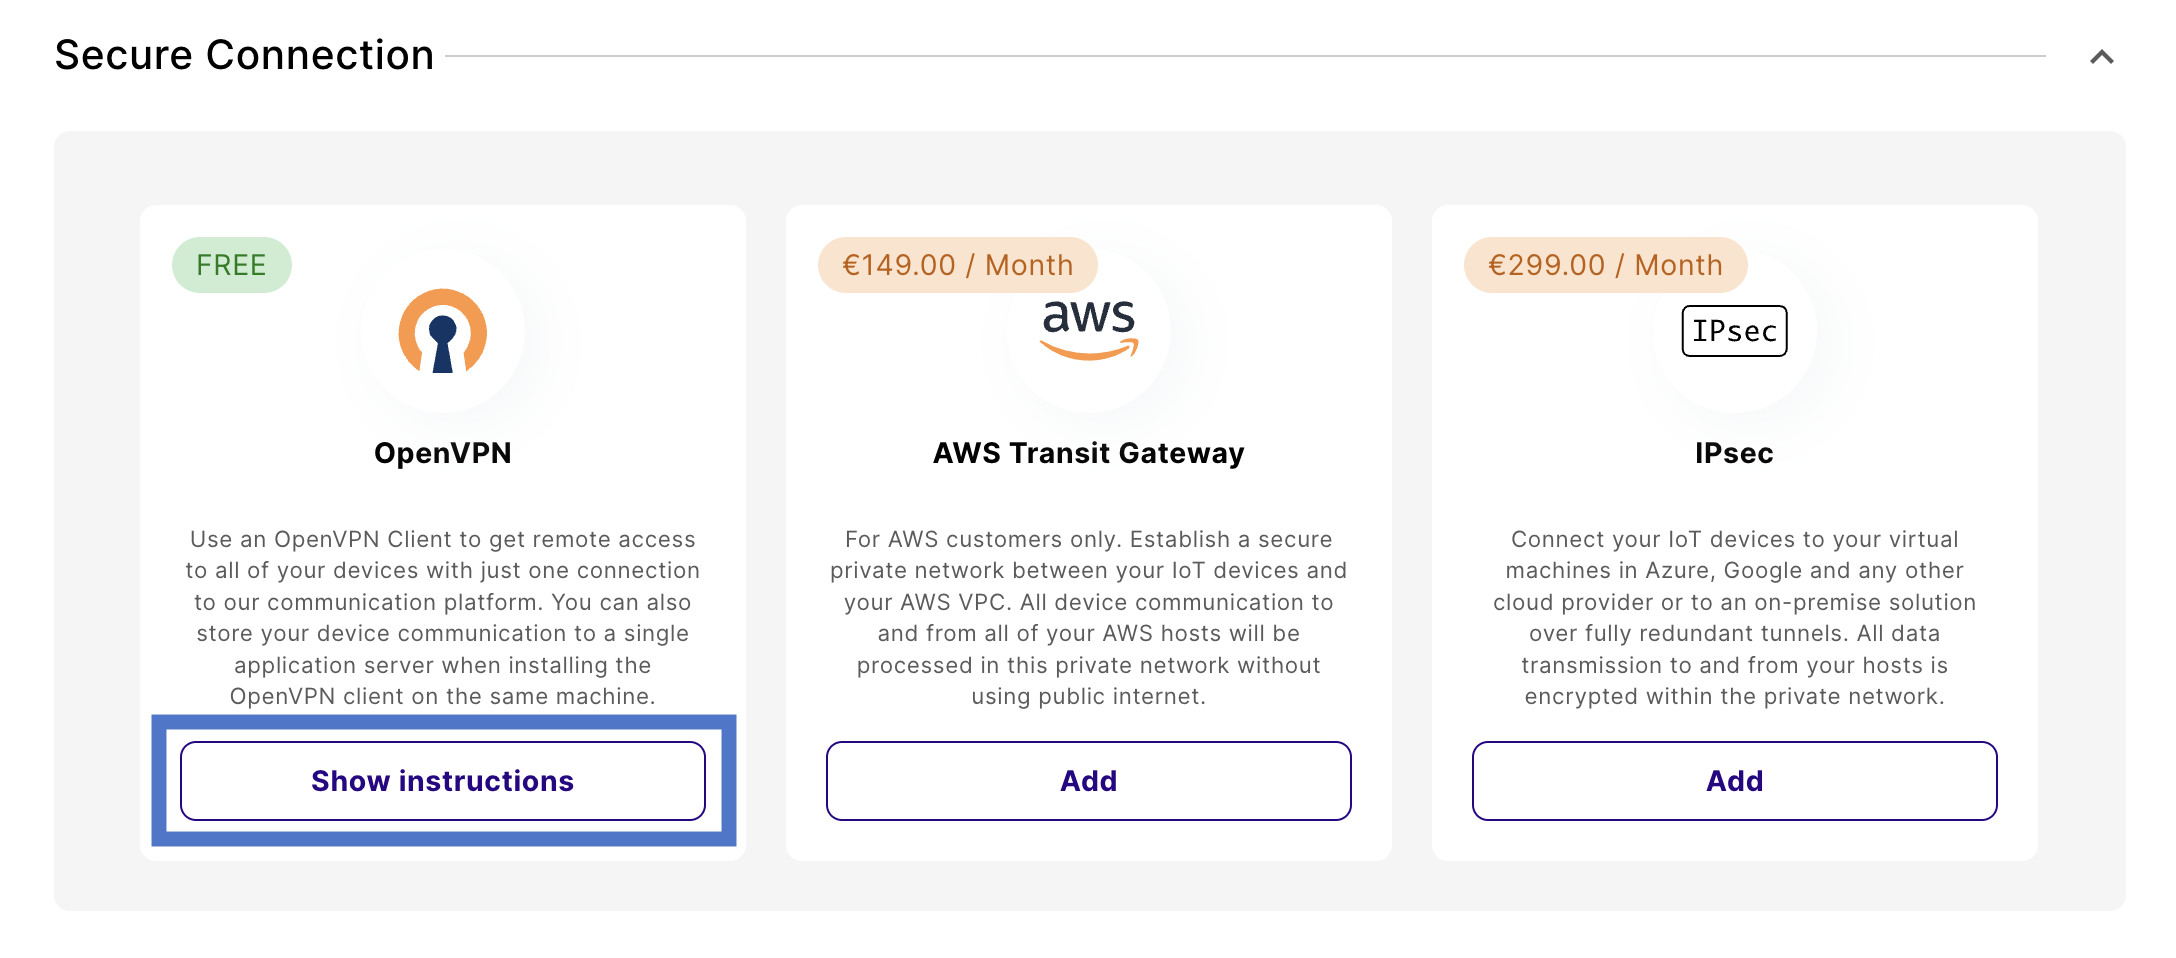
Navigate to Integrations and find the Secure Connection section.
Once downloaded, store that file on your server in the folder /etc/openvpn.
Change the internet breakout region
Navigate to Device Policies in the emnify Portal.
In Service Policies, select the policy assigned to the devices you want to secure and expand the policy details.
Changes save automatically.
Set up with OpenVPN
Install the OpenVPN software
First, install OpenVPN via Homebrew:
Create the credentials file
The credentials.txt file should contain OrgID and Application Token (preferred):
Alternatively, you can use your username and password:
Connect with the following command, passing the configuration file to OpenVPN using the --config option:
Set up with Tunnelblick
Drop the configuration file onto the Tunnelblick icon in the top bar. Alternatively, drop the configuration file onto the Configurations list via the settings panel in VPN Details > Configurations. Tunnelblick asks for a user password.
Create credentials
In the /etc/openvpn directory, create the credentials file:
To connect to the regions VPN, you need to enter your Mac’s password.

