Integrate OpenVPN on Windows
Using emnify, you can create a virtual private network (VPN) for your mobile IoT/M2M devices fitted with emnify SIMs. Data traffic is exchanged between the devices and the application server through an OpenVPN tunnel, enabling direct communication with the IPs of the mobile devices—no network address translation (NAT) applied.
The tunnel is established between the emnify Core Network and the customer’s VPN gateway or server.
The Secure your devices with OpenVPN video provides a step-by-step walk-through.
Required preparation in the emnify Portal
Any traffic exchanged with mobile devices is encrypted before being transmitted over the public internet, which adds an additional layer of security and privacy. No VPN software needs to be installed on the device, or there aren’t any required configuration changes necessary. The default emnify APN also supports VPN flows.
Download the VPN configuration file
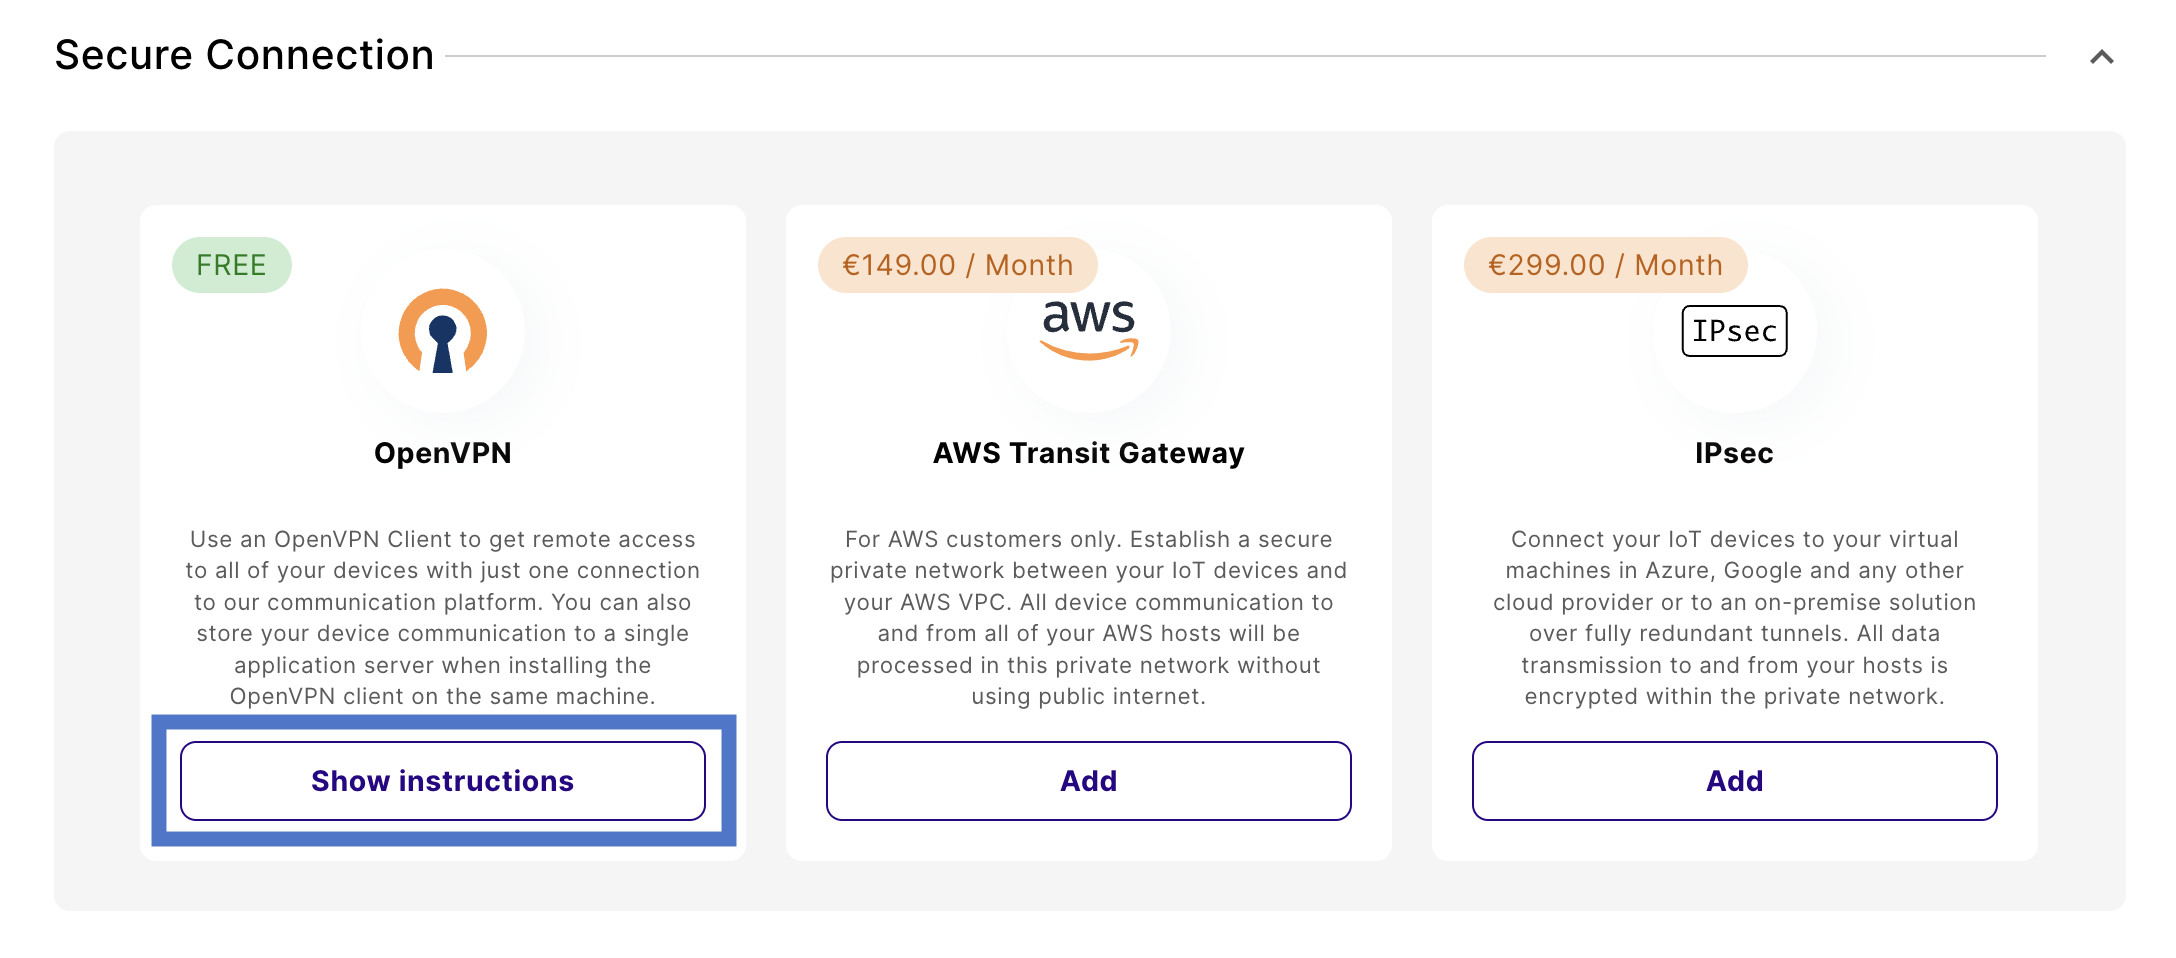
Navigate to Integrations and find the Secure Connection section.
Once downloaded, store that file on your server in the folder \OpenVPN\config.
Change the internet breakout region
Navigate to Device Policies in the emnify Portal.
In Service Policies, select the policy assigned to the devices you want to secure and expand the policy details.
Changes save automatically.
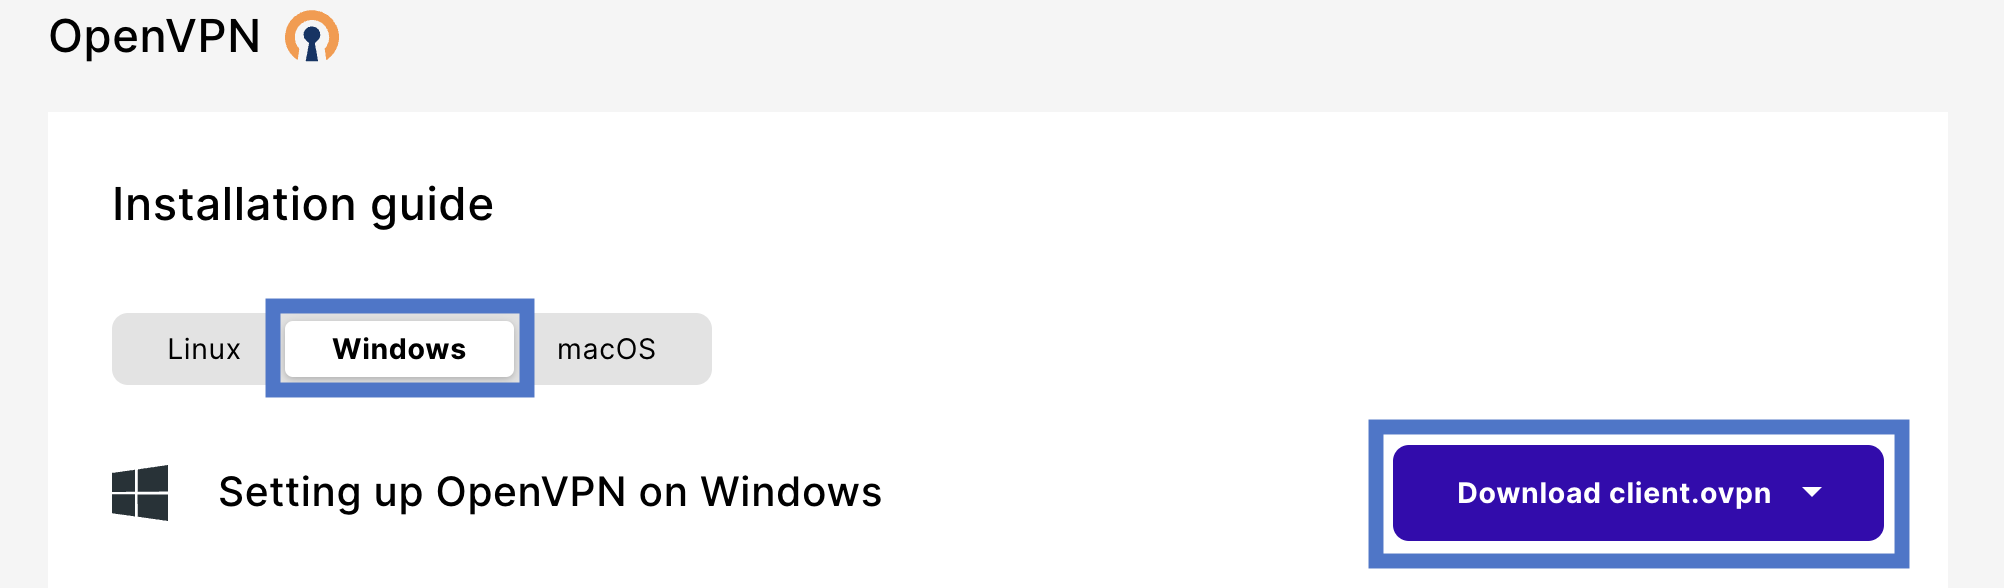
Set up the OpenVPN client on Windows
Install the OpenVPN software
Download the installation file according to your Windows machine at OpenVPN Downloads.
The pre-built configuration file’s name is one of the following:
emnify-eu-west-1.ovpnemnify-eu-east-1.ovpnemnify-ap-southeast-1.ovpn
Store that file in your server in the folder \OpenVPN\config.
Create credentials for authentication
Next, create a file titled credentials.txt in the folder \OpenVPN\config.
This file contains the information to authenticate your session via emnify user credentials or with an application token (recommended).
Authentication with user credentials
The contents of the credentials.txt file should only have two lines as follows:
Authentication with an application token
When you run the OpenVPN client on a VPN gateway or application server, it’s recommended to use a dedicated application token.
In that case, the first line in the credentials.txt file must contain your emnify organization identifier and the application token instead of the password.
You can create application tokens in the emnify Portal. For instructions, see Application tokens.
Once created, copy the token into the credentials file. The content of the credentials file would then look like this:
Correct the credentials path
Find the following line in client.ovpn and insert the complete path from credentials.txt:
If you don’t want to store your credentials, you can enter them each time you establish the VPN tunnel.
For that, comment out the preceding line with ;.
Start and monitor the OpenVPN connection
You can start the OpenVPN GUI application and connect the client tunnel through the icon in the taskbar notification area.
To monitor the connection, go to OpenVPN/log/client.txt.
If everything works, you should see something like this:
In this example, your VPN client’s static private IP address is 10.64.24.122.
Test successful data connectivity
If the VPN tunnel is successfully established, you can connect directly to the private IP addresses of your mobile devices. For testing, you can choose any device with an active data session (marked as Online in the emnify Portal) and retrieve the assigned IP address from the details section.
Using the command prompt (cmd application on Windows), ping the chosen IP address from your device:
For this to work, your device must run an IP stack responding to ICMP echo requests. This might differ for embedded devices that only implement partial IP stack functionality.