SIM Inventory
The SIM Inventory provides a complete list of your registered SIMs.
View your SIMs
The SIM Inventory page displays a list of all your SIMs. The following columns are available:
For each SIM, click anywhere on the table row to open the Details view.
Quick actions
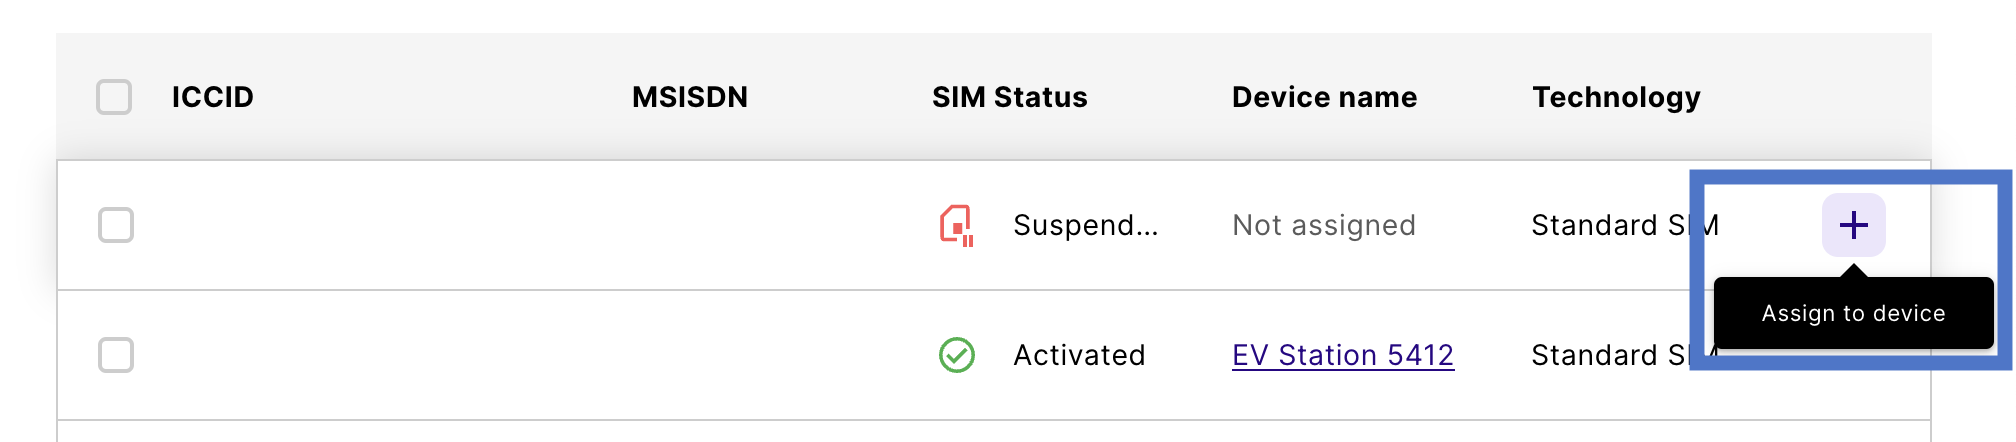
When you hover over a SIM, a + appears to trigger the Assign to device quick action.
Manage SIMs
The Details view shows all identifiers and properties for an individual SIM. This includes everything shown in the SIM Inventory table, as well as:
Additional views
Events and Statistics are additional views that provide logs and aggregated usage, respectively, if the SIM has been assigned to a device and is Active.
Filter SIMs
Filters on the SIM Inventory table allow you to query SIMs based on one or more properties (for example, ICCID or form factor). For more information and available filters, see Filter tables in the emnify Portal.
Search SIMs
The SIM Inventory search bar is under the page title next to the filters. For more information and searchable fields, see Search tables in the emnify Portal.
Order or register SIMs
To expand your SIM inventory, follow the appropriate link at the top of the page:
- To visit the SIM Shop, select Order SIMs.
- To register SIMs, either individually or in batches, select Register SIMs.
Step-by-step guides are available for ordering SIMs from the SIM Shop and registering SIMs.
Delete SIMs
You can permanently delete SIMs from your SIM Inventory in the emnify Portal, ensuring that these SIMs are no longer usable for network access and cannot be recovered. This feature helps reduce unnecessary signaling and associated costs, as deleted SIMs are fully removed from the platform and don’t generate any further network activity.
You can select individual SIMs or upload a list for bulk deletion, and you must confirm your choice before deletion. For more information, see How to permanently delete SIMs from the Portal.
Bulk actions
You can also perform bulk actions on a group of SIMs.
Create devices
Customers with the Plus Package or Pro Package can create devices in factory test mode (FTM). See Activate FTM while creating devices for more specific instructions.
In the SIM Inventory, select the checkbox next to every SIM you want to create a device for.
Name your device and assign a service policy and coverage policy. Optionally, add tags, indicate the IP address, or lock the IMEI.
Under Select Device status, choose a device status.
For more information about how the SIM status and device status interact, see Device troubleshooting.
The process can take up to 20 seconds for 500 devices. You aren’t blocked from using the Portal and navigating to another page during this time.
Assuming no errors, you should have at least one new device.
Deactivate SIMs
In the SIM Inventory, select the checkbox next to every SIM you want to create a device for.
Transfer SIMs between Workspaces
For step-by-step instructions, see the Transfer SIMs between Workspaces guide.
The ability to transfer SIMs between Workspaces is available only to customers with multiple Workspaces. Find a full feature description and billing implications in the Transfer SIMs between Workspaces section.