Transfer SIMs between Workspaces
The ability to transfer SIMs between Workspaces is available only to customers with multiple Workspaces. Find a full feature description and billing implications in the Transfer SIMs between Workspaces section.
The Transfer SIMs feature allows you to efficiently move SIMs from one Workspace to another. This feature also includes notifications and event tracking to ensure a seamless and transparent process.
Follow these steps to transfer SIMs:
In the SIM Inventory, select the checkbox next to every SIM you want to transfer.
Once the transfer is completed, a notification displays in the source Workspace with an option to download a CSV file containing the transferred SIMs.
![]()
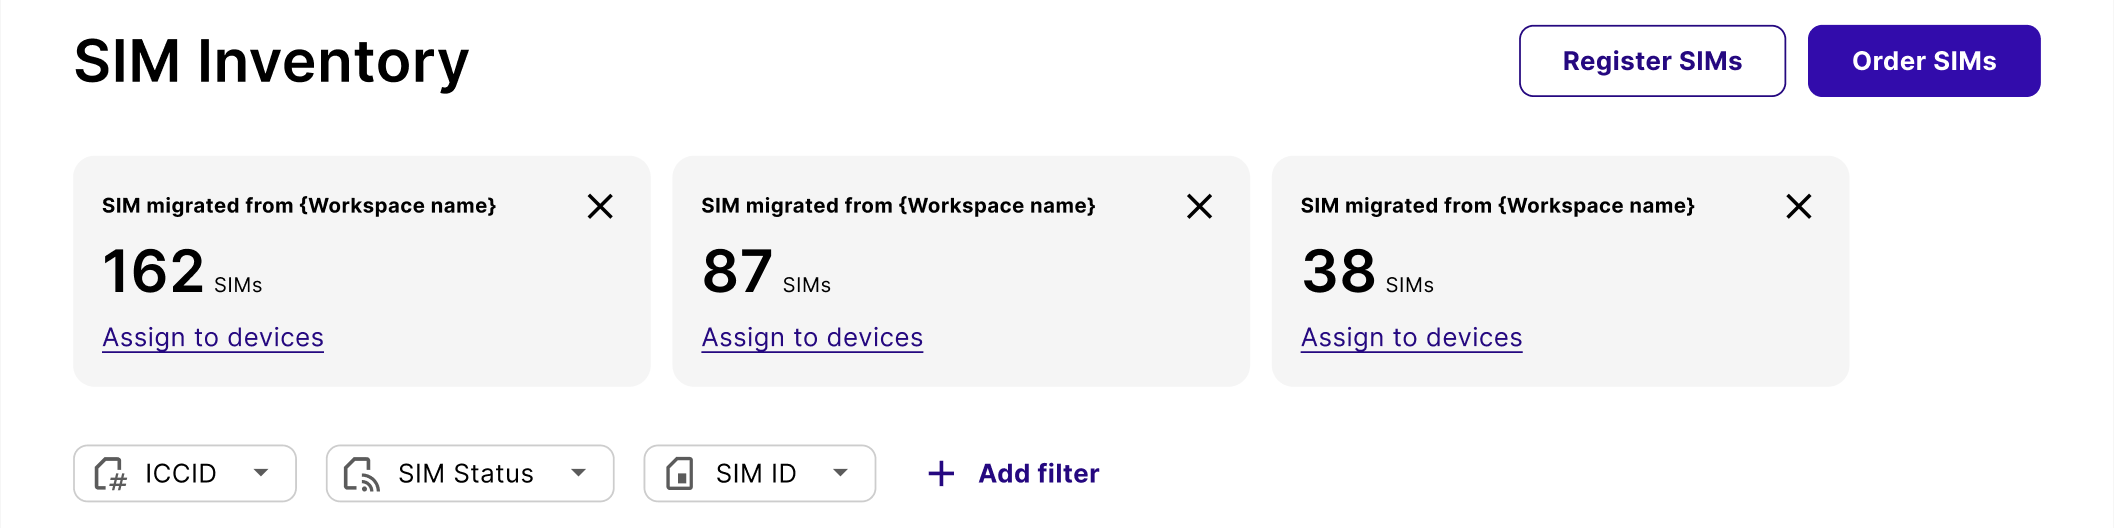
A widget also appears in SIM Inventory of the target Workspace to help you manage the newly migrated SIMs. It shows the number of transferred SIMs and provides an option to create devices in bulk for the transferred SIMs. Once the widget is either closed or the action is completed, it’s marked as read.
Each SIM transfer triggers a new event in the Portal’s events log. See the SIM migration event type for more information.
REST API
To migrate SIMs programmatically, use the Migrate SIMs between Workspaces endpoint.
API-based SIM migration requires authentication with user credentials, as application tokens are scoped to a single Workspace.